Common Mistakes When Positioning Wall Shelves (and How to Avoid Them)
A wall shelf is one of the simplest things you can add to a room, and one of the easiest to get subtly wrong. The fixings can be solid, the brackets dead straight, the timber beautifully finished — and the shelf still feels awkward every time you use it. Most problems come down to position rather than product: a shelf set a few centimetres too high, dropped between a socket and a door frame, or spaced so tightly that nothing taller than a mug will sit on it. None of it is hard to avoid, but it is far easier to avoid before the drill comes out.
Hanging shelves at a default height
Height is where positioning usually goes wrong first. People reach for a habit — a bit above eye level, the same as the shelf in the hallway — without asking what the shelf is actually for. Shelves are used, not admired, so set the height from the things that sit under and on them.
In a kitchen or utility room, where you're standing and reaching, the comfortable working band runs from roughly shoulder height to just above head height. Anything higher becomes occasional storage: the punch bowl, the spare jars, the things you fetch down twice a year. Above a desk or dressing table, the underside of the shelf needs to clear the tallest object on the surface, with enough room left to lift that object in and out without scraping your knuckles. Above a basin or toilet, leave space for a mirror and for splash.
Then check it the way you'll use it. Stand where you'll really be — not in the doorway — and reach for the top shelf with a full hand. If you're on tiptoe or ducking your head, move the mark before you drill.
Ignoring the obstructions in and around the wall
Shelves rarely get a blank wall. Before you commit to a position, look for everything that shares it:
- Sockets, switches, aerial plates and thermostats, which must stay usable.
- Radiators and towel rails, which need clearance above them for air to circulate.
- Door swings and cupboard doors — open them fully and watch where they travel.
- Curtain tracks, poles and blinds, plus the fabric that gathers at the sides of a window.
- Extractor fans, boiler flues, alarm sensors and consumer units, none of which should be boxed in.
- Taps, splash zones and mirrors, particularly in bathrooms and kitchens.
Two of these cause the most regret. A shelf a few centimetres below a socket looks fine until you try to plug in a lamp and find there's no room for the plug or for the cable to bend. And a shelf pressed tight above a radiator traps hot air and leaves the wall behind it grubby. A tape measure settles both questions in under a minute.
Not allowing for what actually goes on the shelf
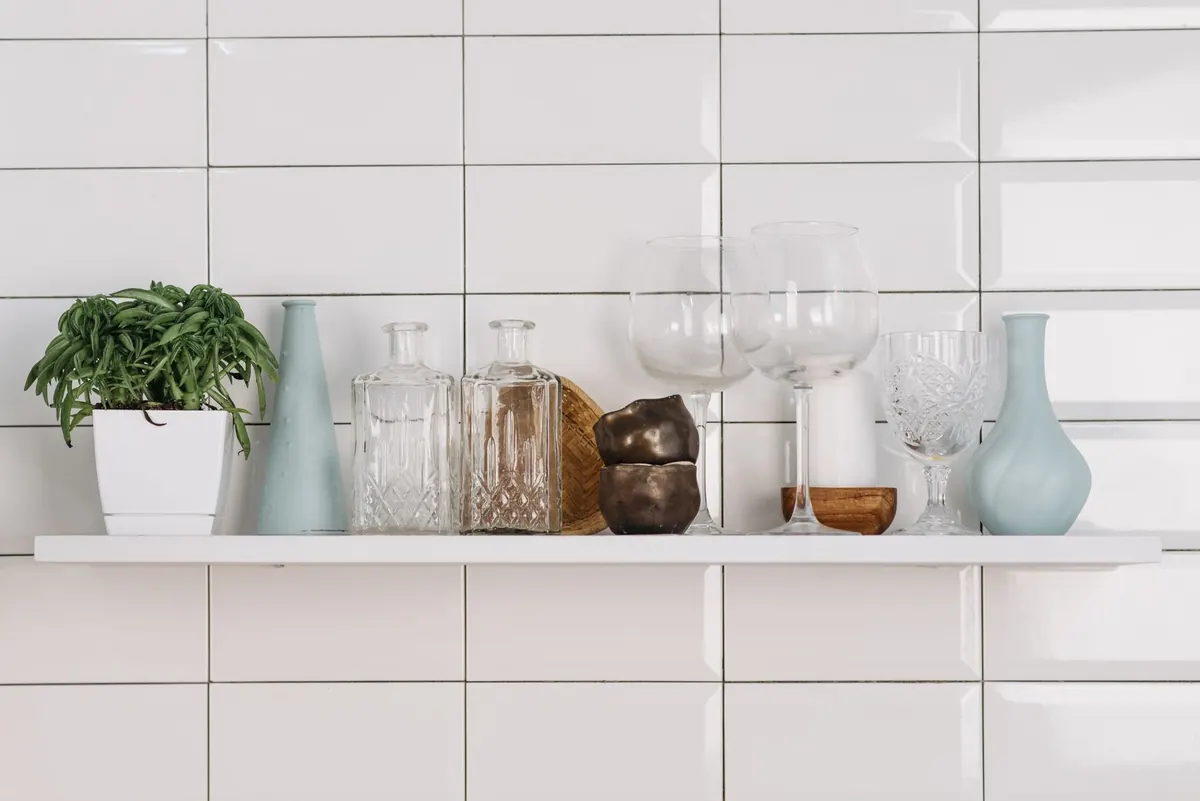
The contents should set the dimensions, not the other way round. Gather what will live there — the books, the boxes, the plant in its pot with the saucer underneath, the stacked mixing bowls — and measure the tallest item. Add clearance for your hand and for the movement involved in lifting things down.
Depth matters as much as height. A 15cm shelf holds paperbacks and small jars well; larger cookbooks, storage baskets or a row of tins want 25cm or more. Too shallow, and everything ends up turned sideways or falling off the front. Weight matters too: keep heavy items low and close to the brackets, and lighter, decorative pieces higher up.
Checking the level in one direction only
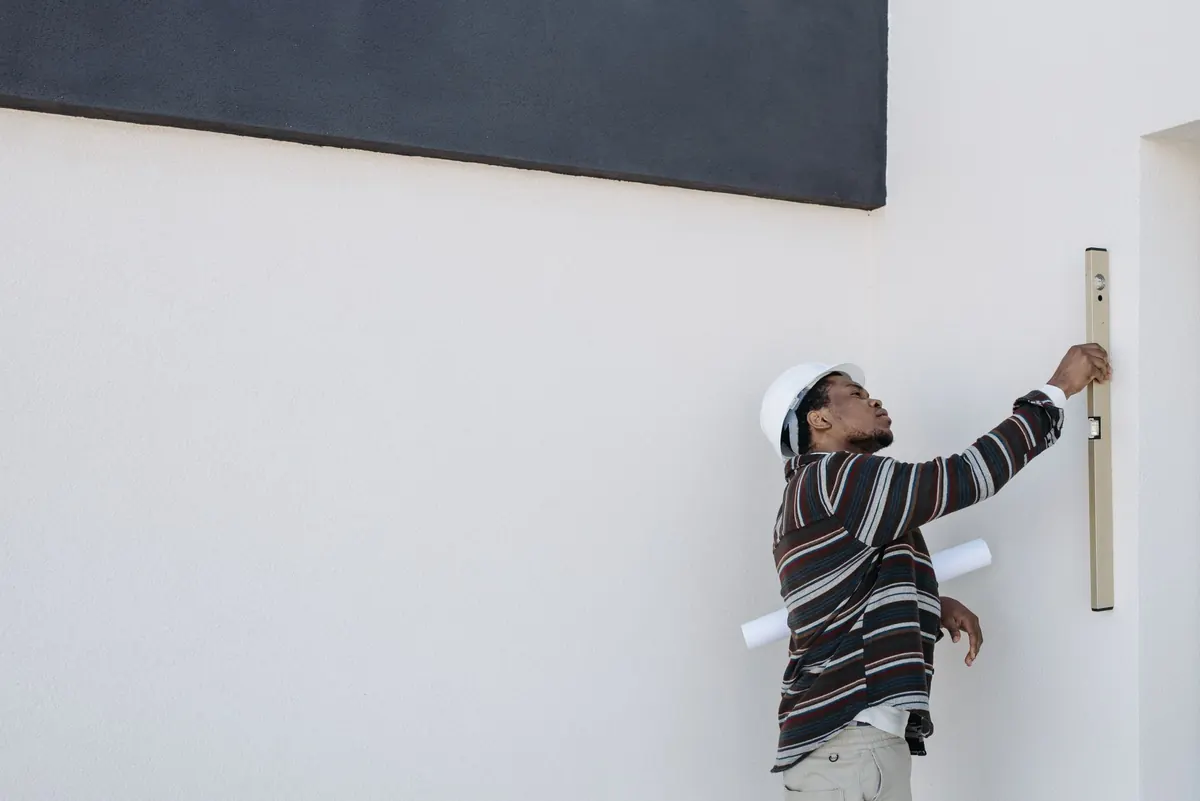
A spirit level laid along the front edge tells you a shelf is level left to right. It says nothing about whether the shelf tips forward, and nothing about whether the wall behind it is flat. Old plaster wanders: a shelf can sit perfectly level and still stand off the wall at one end, leaving a shadow gap that only shows up in daylight.
The reliable sequence is:
- Mark both bracket positions lightly in pencil.
- Fix the first bracket, checking it for level along the wall and for plumb away from it.
- Sit the shelf on that single bracket, level it, then mark the second bracket's holes.
- Pack out any gap behind a bracket with a thin shim rather than over-tightening the screw and pulling the bracket into the plaster.
- Re-check once it's loaded. A long span with brackets only at the ends will sag in the middle, so add a centre support on runs much over a metre.
Before drilling, run a cable and pipe detector over the wall, and match your fixings to what's there. Plasterboard needs proper cavity fixings or a timber stud; masonry needs suitable plugs. If you're unsure what's behind the plaster, stop and ask someone who knows — this is the one shelf mistake that can cause real damage.
Spacing shelves by eye instead of by contents
Even spacing looks tidy on paper and rarely works in practice. A row of shelves all set 25cm apart frustrates the paperback reader and wastes space above the small jars.
Work from the bottom up. The lowest shelf takes the tallest and heaviest items: a paperback usually clears 20cm of internal height, a standard hardback wants closer to 25cm, and an
Photo: Pavel Danilyuk / Pexels