Small Kitchen Shelving Ideas That Free Up Worktop Space
A small kitchen rarely suffers from a lack of storage. It suffers from storage in the wrong place. The wall above your worktop is probably empty while the worktop itself carries the kettle, the toaster, a spice rack, three mugs and whatever nobody put away. Move some of that upward and the same room suddenly has a space to chop an onion.
Measure before you buy a single bracket
Three numbers decide what will work: the height between the worktop and the underside of your wall cabinets (or the ceiling, if you have none), the width of the clear run, and the depth you can live with. Depth is the one people get wrong. A shelf deeper than about 20cm on a wall you stand at becomes a forehead hazard and blocks the light from any under-cabinet strip. Fifteen to eighteen centimetres holds jars, mugs, small bowls and a stack of side plates.
Two rules worth keeping. Stay well clear of the hob — timber and hot fat are a poor combination, and an open shelf over a pan is an accident waiting to happen. And check your sockets before choosing a height, because a shelf screwed across a double socket is worse than no shelf at all. Moving a socket is a job for a registered electrician, not a Saturday morning with a drill.
Run a cable and pipe detector over the wall before drilling, particularly on a chimney breast or an internal wall where pipes often run horizontally. If you rent, check your agreement first; there are good no-drill options, and they come up again below.
The splashback shelf: the hardest-working line in the room
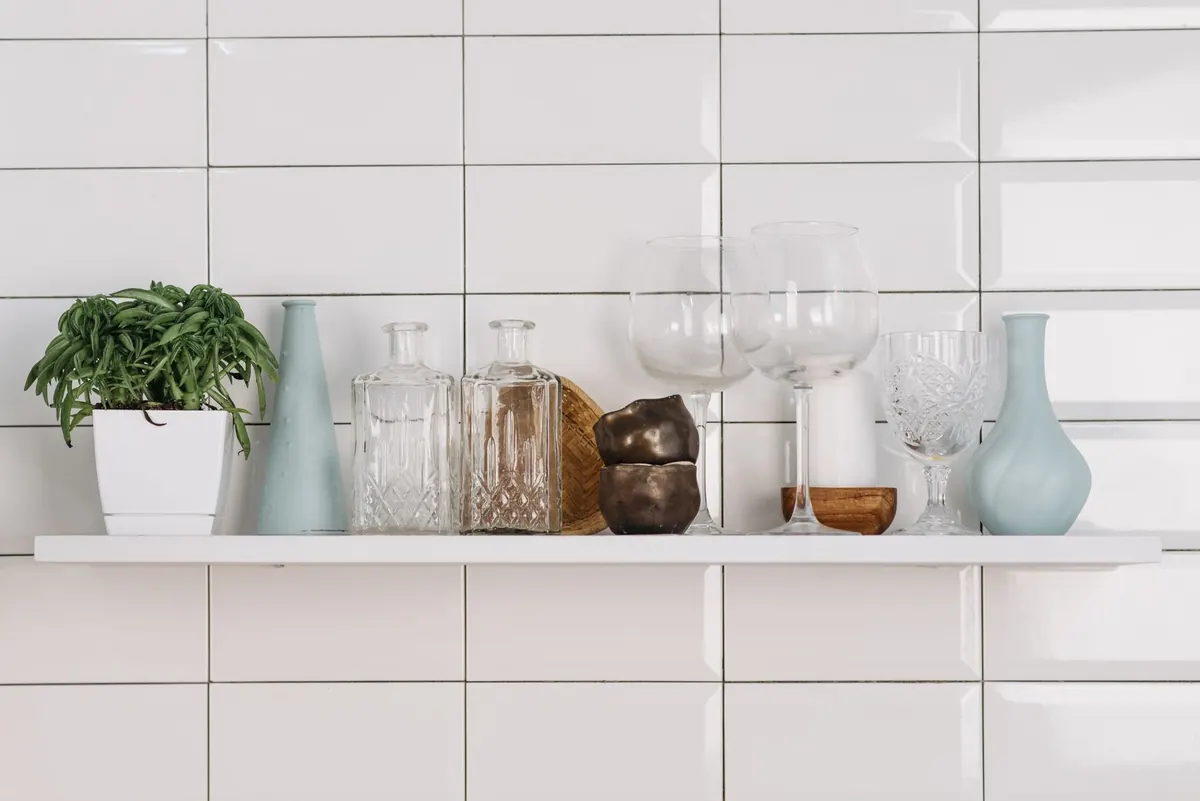
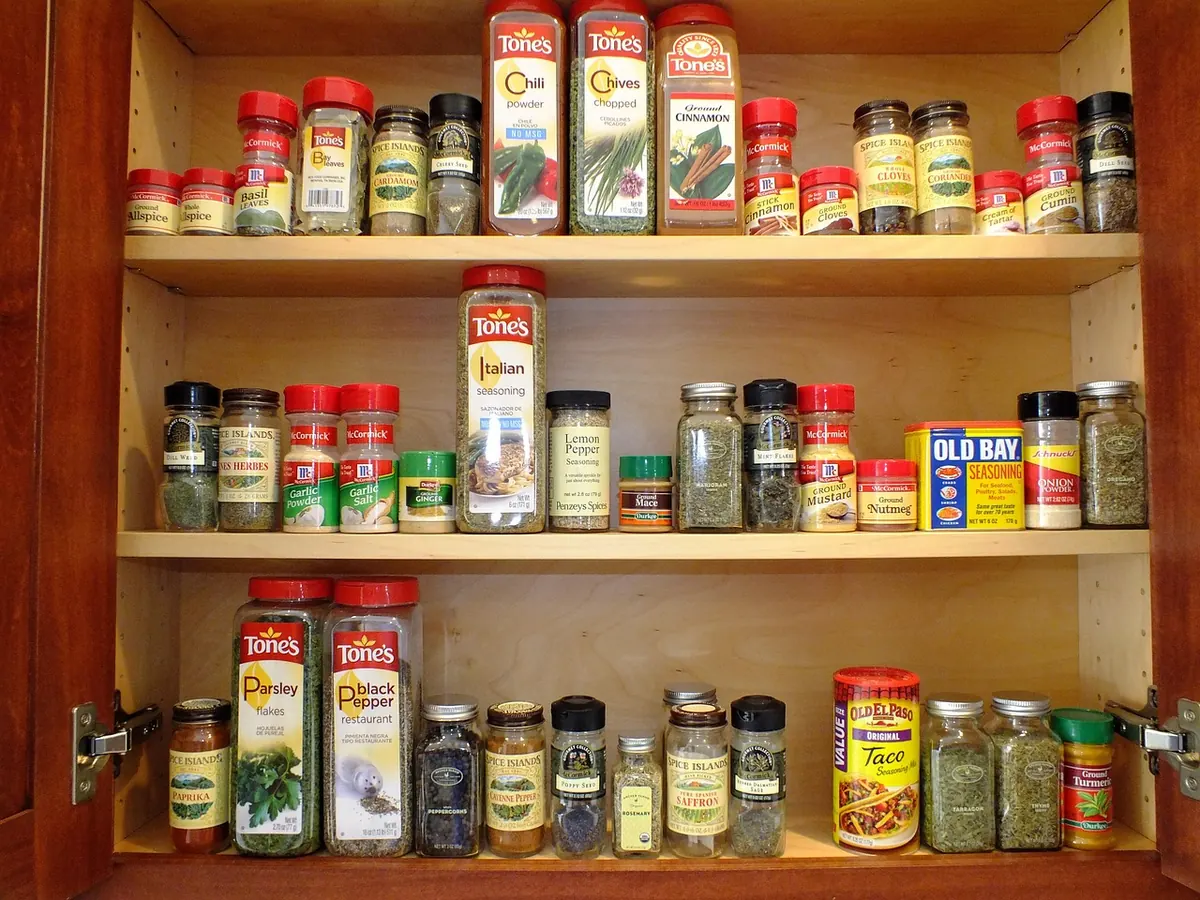
If there is roughly 50–60cm of clear wall between your worktop and the underside of the wall units, you have room for two shallow shelves rather than one deep one. Start with a narrow ledge about 22cm above the worktop, no more than 10–12cm deep, for spice jars, peppermills and a small jug. Then hang a wider shelf, around 16–18cm deep, just below the cabinets for mugs, oils and the items you grab at the sink.
Leave at least 25cm of clear air between the contents of the lower ledge and the underside of the upper shelf, or you will be fishing things out with a wooden spoon. Keep the front edge of both shelves free of clutter so a cloth can run along them in one movement.
Found space: where a shelf actually fits
The gap beside the fridge or cooker
Fifteen to thirty centimetres of dead wall beside a tall appliance is common in British kitchens, and it is ideal for a slim shelf column or a narrow pull-out. Anchor it to the wall, not the appliance, and leave a finger's width of clearance so the fridge door still opens fully.
Above the fridge
A shelf bridging the top of a fridge is a good home for roasting tins, trays and spare boxes. Bear in mind that a fridge pushes out warm air, so keep wine, chocolate and cooking oil elsewhere.
Corners and the end of a run
Two angled corner shelves in a right-angle turn use space that no cabinet can reach, and in a galley kitchen the end wall often takes a tall narrow unit without crowding the walkway. Measure the walkway first: if you cannot pass someone carrying a pan, the shelf is in the wrong place.
Under the wall cabinets
A shallow ledge or a rail with hooks fixed to the underside of a cabinet gets mugs and utensils off the worktop. Keep 30cm of clearance beneath it so chopping boards can still stand upright.
Materials that survive a British kitchen
Steam, grease and splashes do more damage than weight does. What to choose:
- Solid oak or pine — warm, repairable and easy to screw into. Oil or lacquer it before hanging; untreated timber near a kettle will soak up water and stain.
- Melamine-faced chipboard — the cheapest wipe-clean option. Seal the cut edges with iron-on edging, because water creeping into the core makes it swell and crumble.
- Powder-coated steel or stainless steel — the best choice beside the hob and sink. Stainless shows fingerprints; a powder-coated colour hides them better.
- Glass — almost invisible and quick to wipe, but heavier and prone to chipping at the edges. It needs proper brackets, never suction cups.
- Bamboo — treat it like wood: oil it, and keep it out of direct steam.
The fixing matters more than the shelf. Two brackets into plasterboard alone will sag once you load tins onto them. Aim for studs, masonry, or a timber batten screwed across the wall and fixed into something solid.
Small additions that keep the worktop clear
Hooks under a shelf take mugs, utensils and tea towels. A tray or shallow basket groups oils and condiments so you can lift the whole lot off in one go when you clean. A shelf with a small lip stops jars sliding forward when a door slams. None of these costs much, and together they often free more worktop than the shelf itself.
A weekend plan for one wall
- Clear one run of worktop completely and put everything on the table. Sort it into daily, weekly and rarely used.
- Measure the wall, and note sockets, the extractor, any pipework and where you naturally stand.
- Buy one shelf for the daily group, 15–18cm deep, with brackets rated for the weight you intend to put on it.
- Fix it into solid material rather than plasterboard alone, and check it with a spirit level before tightening the screws fully.
- Live with it for a fortnight before adding a second shelf. If the first one is not full, you do not need another.
In rented accommodation, tension rods suit window recesses and small alcoves, over-door hooks need no tools, and a tall narrow freestanding unit beside the fridge requires no fixings at all — just keep the load sensible and check any weight limit that comes with the fittings.
One well-placed shelf above the worktop will do more for a small kitchen than a whole extra cupboard. Start with the wall you stand at most, and let the clutter tell you what you needed.
Photo: LouAnnClark / Pixabay